Instead of having a static footer, Hatch enables you to build your own unique and custom footer. No coding experience needed.
Chapter 1: The steps to open the Footer global module
- Open any Hatch page in the page editor.
- Click the Contents tab and find the Page footer module:

- Click Open in global content editor

- Open Footer

- In the left sidebar, you'll find all of the Footer fields and field groups:
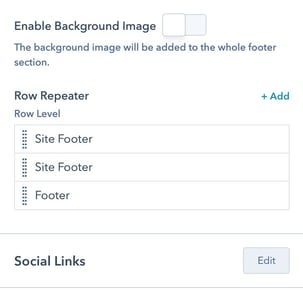
- Enable Background Image boolean: Choose to enable/disable the background image.
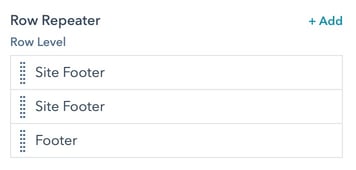
- Row Repeater: Footer can have an unlimited number of rows. Each row is built as a repeater item.
- Social Links: Build the list of social links to be displayed in the footer from one group, this will be called into the Content repeater inside the Row Repeater.
Chapter 2: Footer Builder
A footer consists of an unlimited number of rows, and in each row, you can customize the number of columns and content to be displayed.
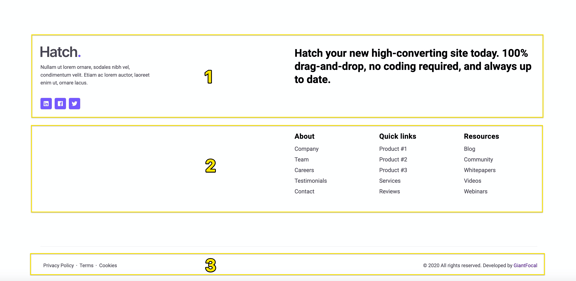
For example, the footer currently live on the Hatch demo site consists of 3 rows:
Let's build a new footer row, shall we? Here are the steps:
- Click +add in the Row Repeater field
- You'll find all the field groups and fields:
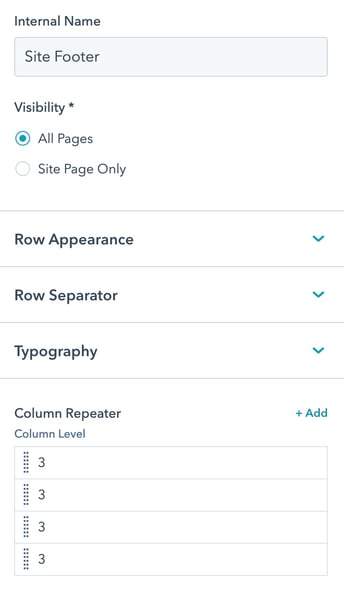
- Internal name: Assign a unique name to each footer row. The value will not be printed on the actual live page.
- Row Appearance: Customize padding and background options.
- Row Separator: Choose to display a separator between each column in the row.
- Typography: Text and heading text color options.
- Column Repeater: A repeater field to control the columns to be displayed within the footer row.
- The next step is to decide how many columns to be displayed inside the row and the types of content.
Click +Add in the Column repeater to add your first column. - Once added, here are the available fields and field groups:
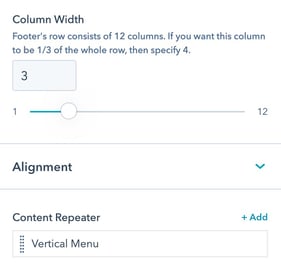
- Column Width: Choose how wide/narrow the column needs to be.
- Alignment: Desktop and mobile text alignment options.
- Content Repeater: Each column can have its own contents, you can add an unlimited number of contents into each column.
- A footer row supports up to 12 columns. If you need three equal-width columns, you can specify 4 in this field.
As an example, the first Footer row of the live demo site has 3 columns of 3 - 3 - 6.
- Next is to add the Contents into the column. Click +Add in the Content Repeater field.
- Similar to Mega Menu's Content Repeater, you'll start with choosing the Content Variant to display.
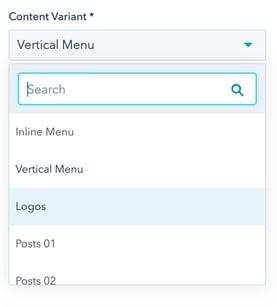
Available Content Variants:- Content
- Form
- Inline Menu
- Vertical Menu
- Logos
- Posts 01
- Posts 02
- Social Links: The social links will be fetched from the Social links group as seen in Chapter 1's step 5.